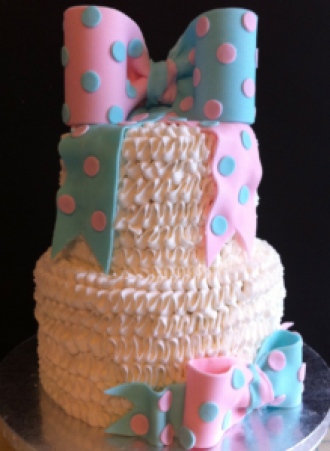
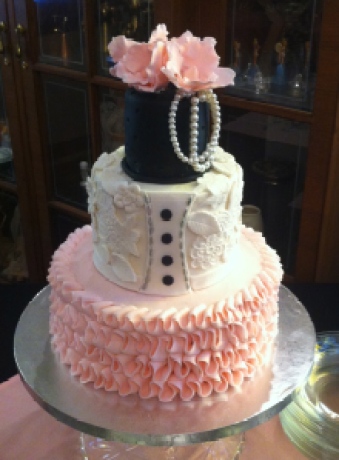
Cake design, like most things, goes through trends. When Ace of Cakes was at it’s prime everyone wanted a 3D carved cake. Cupcakes had their day, and now metallics, monochrome, ruffles, and naked cakes are all the rage. I’ve made my fair share of ruffled cakes over the last year. They are perfect for nearly every occasion – wedding showers, baby showers, birthdays and weddings.

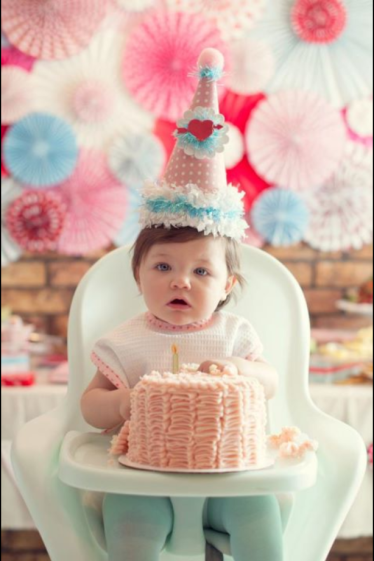
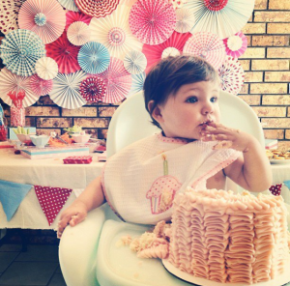
Violet’s 1st Birthday Cake. Pic from her parents Savannah and Robby, check them out at www.robbyandsavannah.com
They are so versatile…and so easy! You can make your ruffles big and loose, really tight, leave them flat, or stack them vertically. Each variation gives a different look and a different feel based on your event.
Here is a quick tutorial on how to make your own ruffle cake at home.
A few things you’ll need: 1. A cake, duh. 2. Piping bag filled with buttercream 3. Petal tip (any size) 4. A turntable (not necessary, but very helpful).
Before you begin, make sure your cake has a base crumb coat. This is important, because if you leave any space between your ruffles you don’t want your guests to see a naked cake. Unless you’re going for a naked cake, which in that case you won’t need ruffles…hmmm.
You may use a butter based buttercream, or a shortening based decorating icing. The shortening based icing holds up better if your cake is going to be out of the refrigerator for an extended period of time. The true buttercream tastes better, but has a tendency to melt in your hand while you’re piping it on to your cake. Your choice!
The most common petal tip to make ruffles is a #104. If I’m doing a really big cake, or really loose ruffles I’ll use a #125. Here are a few petal options:
You want the wide end of the tip against the cake, the thin end makes the edge of your ruffle. I like to start at the bottom of my cake, that way I know I’m at least starting with a straight row. It doesn’t always end that way though…oops! I think some imperfections give it a little more character anyway. 🙂 As you turn the cake, move your hand up and down, making a zig-zag motion across the cake. Make your zig-zag as tight or loose as you like. Here’s a quick video of how I ruffle a cake (click on the picture):

Click on the picture, to access the video.
Couple of things:
1. Please excuse the cake dummy that has apparently been used for airbrush practice.
2. Halfway through the video I move the camera so you can see my piping bag tip. Don’t know why I didn’t think that was important before!
See, so easy! You can have a completely ruffled cake in less than a minute. 😉 Ok, ok, maybe not. But I promise it doesn’t take too much time at all.
Give it a whirl!


Leave a Reply